Over the holidays, my friend Simon came over and taught Paul and I the way of the onigiri. Simon will have to vouch for the authenticity of the technique. (I don't care if it isn't authentic, Simon taught me how to cook rice - something I was never able to do before.) I think the onigiri would be awesome to take for a picnic.
Some notes on the ingredients. The seaweed I got in China town. You can probably find it at any Asian grocery store. The filling for the rice ball could be any little bit of leftover you might have. Simon suggested using spicy tuna. During my onigiri lesson we used some rehydrated dried mushrooms. Today I used a red pepper filling. I am not sure what the traditional rice to use is, but I used Jasmine rice and it seemed sufficiently sticky.
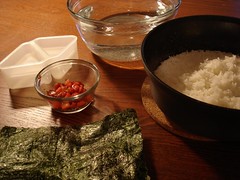
Red Pepper Onigiri Filling
(filling for about 6 rice balls)
1 tbsp finely chopped onion
1/4 red bell pepper, finely chopped
1 tsp soy sauce
1 tsp oyster sauce
1 tsp sesame oil
1 tsp vegetable oil
pinch of red pepper flakes
1 tsp toasted sesame seeds
1. Fry onions in vegetable oil until they start to brown. Add red pepper and cook until softened.
2. Toss with remaining ingredients.
Onigiri
warm cooked rice (I started with 1 cup dry rice)
large pinch of salt
filling
seaweed sheet
1. Toast the seaweed sheet by holding it about 2 inches above the element in your stove. (This works even if you have an electric stove like I do.) You will know the sheet is toasted because it will crinkle and become a brighter green.
2. Wet your hands. Make a little ball with the rice. If you have ever made a snow ball, you will find this strangely familiar.
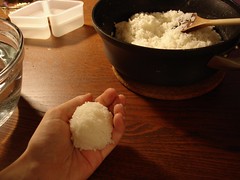
3. Next make a little dimple in the rice ball. This will flatten the ball a little.
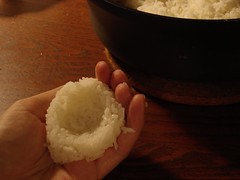
4. Put the filling in the dimple. Don't put in too much filling.
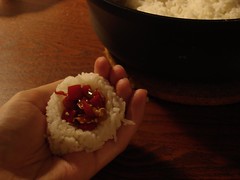
5. Add some more rice to cover the filling to make a larger ball.
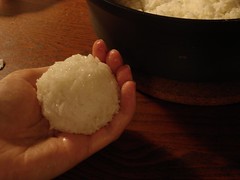
6. If you don't have a rice mold, skip this step. Otherwise, wet the rice mold and place your ball in it. Then squish the mold top on.
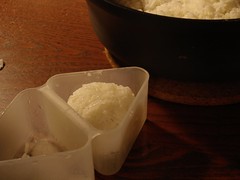
Look how cute it comes out!
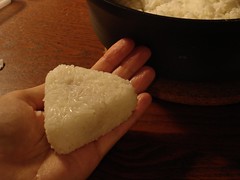
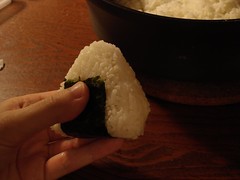
7. Wrap the rice formed rice ball in seaweed. You can cover the ball completely, or you can just cover a strip. This strip makes a little non-sticky handle.

5 comments:
Hurray! What a fun little recipe. :)
The technique is authentic, although the filling isn't really. But using your favourite fillings is what's most important.
Neat! (Christina)
Looking forward to try this. Thank you for sharing
thank you so very much for posting this. i've ALWAYS wanted to know how to make this filling! can't wait to try it!
Linda, Simon is right. The filling is not authentic. It was just something I felt like eating that worked out well.
Post a Comment